Do you have a great idea for a song that you want to sing or record? Are you eager to put it online for everyone to see but don't know where to start? If this sounds like you, you're in the right place. Sit tight, grab a drink and a notepad, and let's dive into the basics of recording and posting music online.
Understanding Your Equipment
When it comes to recording covers or original music to post online, being familiar with your equipment is crucial. The type of equipment you'll need can vary depending on whether you're posting a cover on YouTube or uploading a song to Spotify. Recording a cover can be as simple or as elaborate as you like, from using a basic 2010 iPod to employing multiple cameras and lights. But before you get to the backup dancers, let's break it down to the essentials.
Recording Devices
First things first, you'll need a device to record yourself. This could be anything from an iPod touch or smartphone to a high-definition camera. If you're not planning on getting any new equipment, your current device may suffice. However, if you have some money to invest, perhaps from saving diligently or having a job, consider upgrading your setup.
Microphones
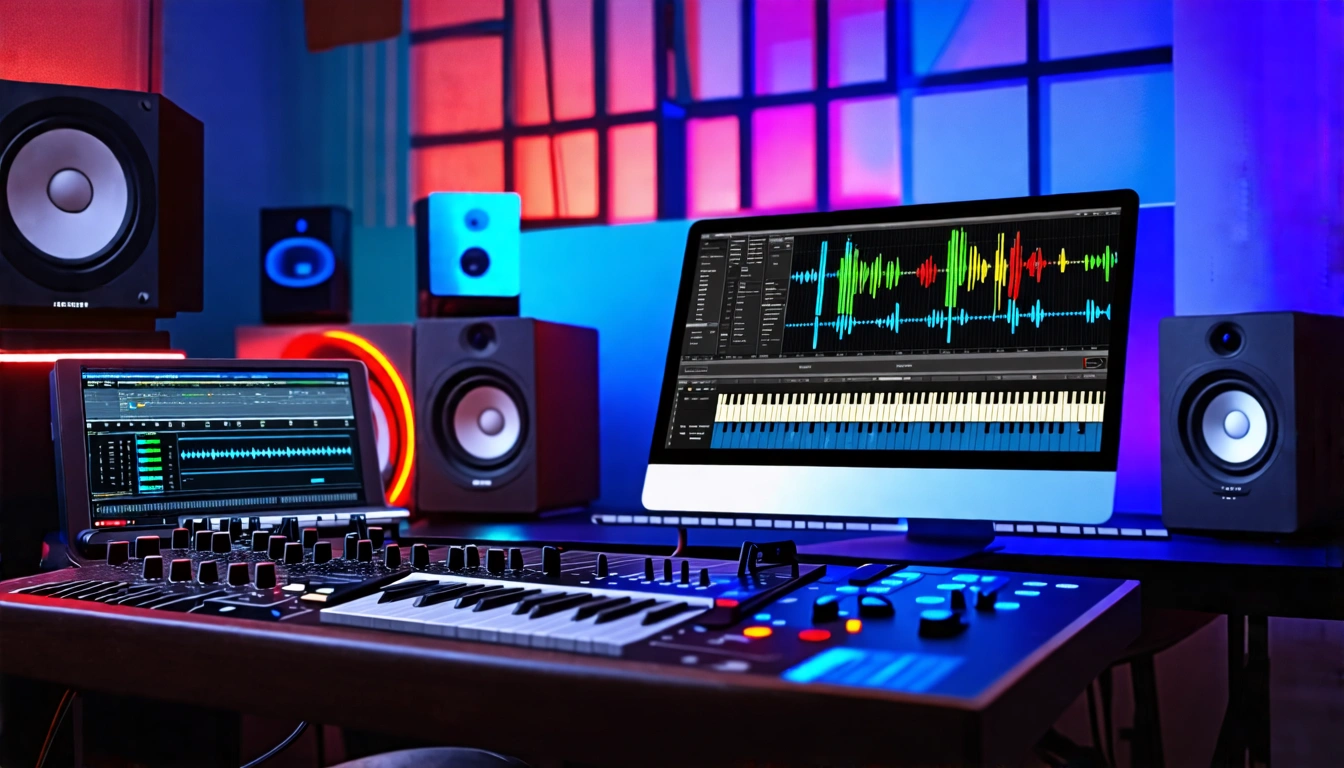
Next on the list is a microphone to capture your vocals clearly. There are numerous options at various price points, so you'll need to do your research to find one that fits your budget. For beginners, a USB mic is a good starting point due to its easy setup—just plug it into your computer. For higher sound quality, a condenser mic is recommended. This setup involves connecting the mic to an audio interface using an XLR cable, which then connects to your computer, typically via USB.
Audio Interfaces
An audio interface is essential if you're using a condenser mic. It converts microphone and instrument signals into a format that your computer can recognize. Think of it as a translator between your equipment and your computer. Depending on your interface, you can record different types of audio in various ways. Some interfaces have multiple mic preamps, allowing you to record multiple mics simultaneously, or designated inputs for instruments like guitars, basses, and digital pianos.
Getting Started with Recording
Now that you have your equipment, the next step is recording. If you're recording directly from your camera without a mic, you can skip this part. But if you're using a mic, you'll need to record separate audio.
Choosing Your Digital Audio Workstation (DAW)
You'll need a digital audio workstation (DAW) to record your vocals or instruments. For beginners, Audacity is a free and straightforward option available for Mac, PC, and Linux. If you're looking to invest in a more advanced DAW, consider options like Logic Pro X, FL Studio, Ableton, or Pro Tools. For this guide, we'll use Logic Pro X as an example.
Setting Up Your DAW
- Open your DAW and create a new project.
- Select "Audio" since you'll be recording vocals or instruments.
- Ensure your input and output settings are correct.
- Plug in and turn on your audio interface.
- In the DAW, go to preferences and select your audio interface as the input device.
Recording Your Audio
- Press the record button in your DAW (or press the 'R' key) to start recording.
- To record multiple audio tracks, such as vocals and guitar simultaneously, create a new track for each.
- Set the input for each track correctly and press the record button when ready.
Synchronizing Audio and Video
Once you have your audio and video recorded, you'll need to sync them. You can use software like Final Cut Pro or iMovie, or even apps on your phone. After syncing, you can upload your video to YouTube or the audio to streaming platforms.
Uploading Your Content
After editing and syncing your content, you're ready to upload it. Whether you're posting a video on YouTube or a song on Spotify, follow the platform's guidelines to ensure a smooth upload process.
Conclusion
Recording and posting music online can seem daunting at first, but with the right equipment and a little know-how, it becomes much more manageable. This guide covered the basics to get you started, from choosing the right recording devices and microphones to setting up your DAW and syncing your audio and video. Remember, every expert was once a beginner, so don't be afraid to start simple and scale up as you gain more experience.
If you have any questions, feel free to leave them in the comments below. I'll do my best to help you out. Thanks for reading, and happy recording!
Key Points Recap
- Recording Devices: Use anything from a smartphone to a high-definition camera.
- Microphones: Start with a USB mic for simplicity or a condenser mic for higher quality.
- Audio Interfaces: Essential for condenser mics, they convert signals for your computer.
- DAW: Choose from free options like Audacity or invest in advanced ones like Logic Pro X.
- Recording: Set up your DAW correctly and press record.
- Syncing: Use software to sync audio and video before uploading.
- Uploading: Follow platform guidelines for a smooth upload process.
By following these steps, you'll be well on your way to sharing your musical creations with the world. Until next time, keep creating and sharing your passion for music!