Welcome to the Ableton Live for Beginners series! In this first installment, we'll journey through the essential steps to help you navigate Ableton Live, understand its features, and start composing your own music. My name is Tatro, and I’m thrilled to guide you through this exciting process. Whether you're completely new to digital audio workstations (DAWs) or have dabbled in music production before, this guide is tailored to help you get your musical ideas off the ground.
Introduction to Ableton Live
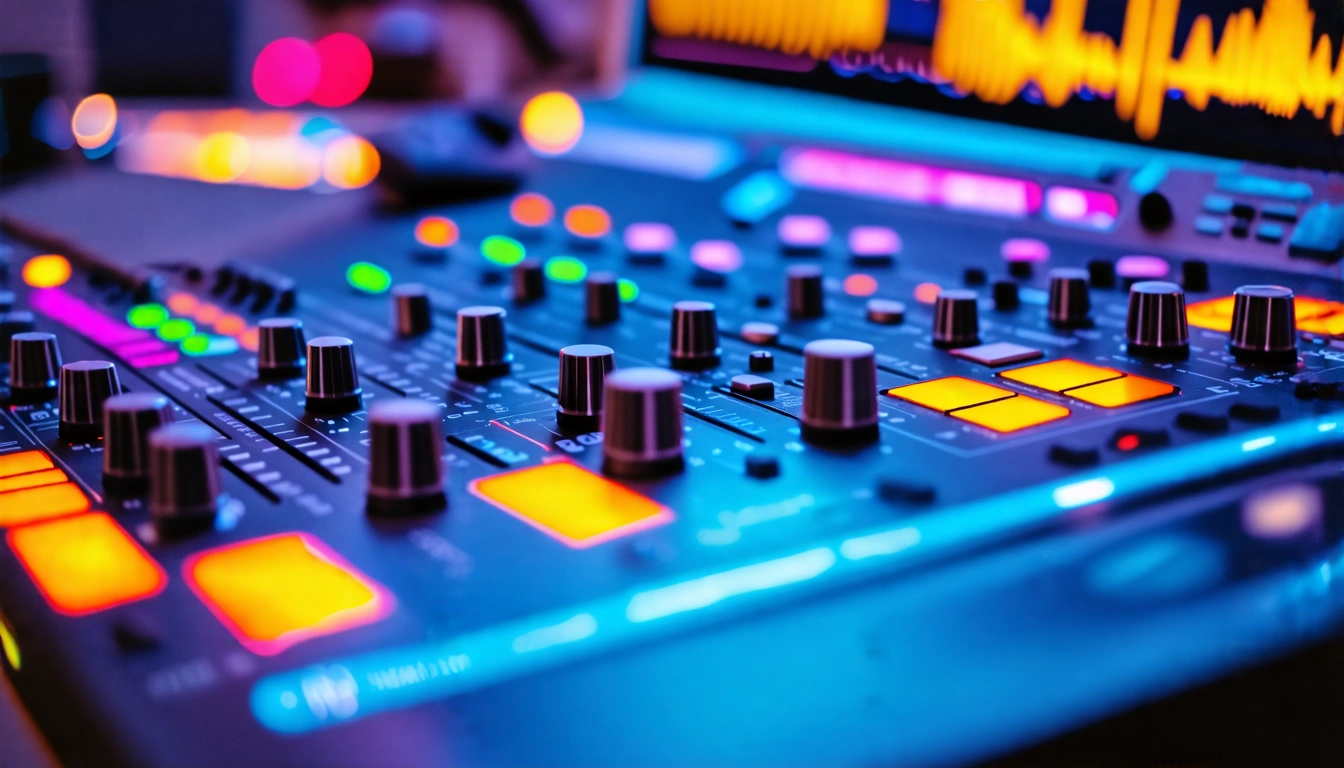
Ableton Live stands out among DAWs for its unique approach, particularly its Session View, which allows for a more dynamic and improvisational workflow compared to traditional timeline-based software. In this tutorial, we will cover the basics of the software, focusing on how to set up your first project, load instruments, create sounds, and record music.
What You Need
Before we dive in, ensure you have the following:
- Ableton Live: You can download a free trial from their website if you don’t already have it.
- A MIDI controller (optional): While you can use your computer keyboard, a MIDI controller can enhance your experience.
- Headphones or speakers: To hear the sounds you create.
Now, let’s get started!
Navigating Ableton Live
Opening Ableton Live for the First Time
Upon opening Ableton Live, you may find yourself staring at a demo project. If that's the case, simply navigate to File > New Live Set to start fresh. If your interface looks different from mine, go to Templates and select the Default Live Set to ensure we're on the same page.
Note: I am using a Mac, so some commands may differ for Windows users (e.g., using Control instead of Command).
Understanding Session View and Tracks
Ableton Live’s default layout is called Session View, which offers four tracks: two MIDI tracks and two audio tracks. MIDI tracks are designed for virtual instruments built into the software, while audio tracks are for recording external sounds (like vocals or instruments).
Here’s how to start making sound:
- Loading Instruments: Look to the left in the Browser section to find categories like Sounds, Drums, and Instruments.
- Choose an Instrument: Click on Instruments to see Ableton's stock synthesizers (e.g., Operator, Analog). Drag one onto a MIDI track to load it.
Arming Tracks
To play the instrument, make sure to arm the track by clicking the red button next to it. This tells Ableton that you're ready to record or play sounds from that track. If you don’t have a MIDI controller, enable the Computer MIDI Keyboard by clicking the keyboard icon on the top right; this allows you to use your computer’s keyboard to produce sound.
Your First Sound
Before we dive into recording, let’s make sure we can produce sound. After arming your MIDI track and loading an instrument, follow these steps:
- Go to Preferences (under Live menu).
- Select Audio and set your Audio Output Device (e.g., built-in speakers, headphones, or an audio interface).
- With your MIDI track armed, press keys on your computer keyboard (e.g., A, S, D, F, G, H, J, K) to play notes.
Loading a Drum Kit
To add a drum kit, return to the Browser, click on Drums, and choose a kit that you’d like to use. Drag the kit onto a MIDI track and use the same keyboard shortcuts to play the drum sounds.
Recording Your Musical Ideas
Now that we have sounds, let’s explore how to record these ideas into clips.
Creating a Drum Loop
- Create a Clip: Double click in an empty clip slot under the drum track to create a new MIDI clip.
- Set Up Your Pattern: In the lower window, you'll see a grid. Click to add notes for your drums (e.g., kick on beats 1 and 3, snare on 2 and 4).
- Play the Clip: Press the play button on your MIDI clip to hear it loop.
Recording MIDI
To record your own MIDI ideas:
- Ensure your clip is selected and the track is armed.
- Press the Session Record button (the circular record button in the top toolbar).
- Begin playing notes on your MIDI controller or computer keyboard. Once finished, press the Session Record button again to stop recording.
Using Clip Slots
Each track in Session View has clip slots where you can create different clips. You can create multiple drum loops or synth loops by following the same steps. To duplicate clips, right-click on the clip and select Duplicate or simply use Command + D (Mac) or Ctrl + D (Windows).
Tips for Building Your Arrangement
- You can layer sounds by creating new clips on different tracks and playing them together.
- Use the stop buttons on each clip to stop them individually, while the main play and stop buttons control the whole project.
- Experiment with different patterns and sounds until you find something that works for you.
Exploring Arrangement View
Press Tab to switch to Arrangement View, which displays a linear timeline similar to traditional DAWs. Here, you can arrange your clips more precisely, but for now, let’s stick to Session View, where you can improvise and experiment with your musical ideas.
Using DistroKid for Music Distribution
Before we conclude, I want to take a moment to introduce our sponsor, DistroKid. DistroKid is a fantastic service that allows musicians to distribute their music to platforms like Spotify, Apple Music, and more. The best part is, you can upload unlimited songs for a yearly fee, keeping 100% of your earnings.
If you’re interested in getting your music out there, check out the link in the description for a discount on your subscription.
Conclusion
Congratulations! You've learned the basics of navigating Ableton Live, loading instruments, creating sounds, and recording your musical ideas. This foundational knowledge will empower you to explore your creativity further in future lessons. As we continue this series, we'll dive deeper into audio recording, arrangement, and more advanced features of Ableton Live.
Thank you for joining me for this first installment of the Ableton Live for Beginners series. If you have any questions, feel free to leave them in the comments. Happy music-making, and see you in the next lesson!